5 Tips for doing your first puzzles
Mayo 5, 2020
Autor: Jimena G.
In recent years we have seen how the puzzle hobby is growing little by little, but since the social distancing began ... it has exploded. Puzzles are a great way to pass time and they also have multiple benefits for our health.
We have received many emails and messages from people who have started recently, asking us for tips or advice for doing puzzles. So, we have prepared the 5 Tips for doing your first puzzles.
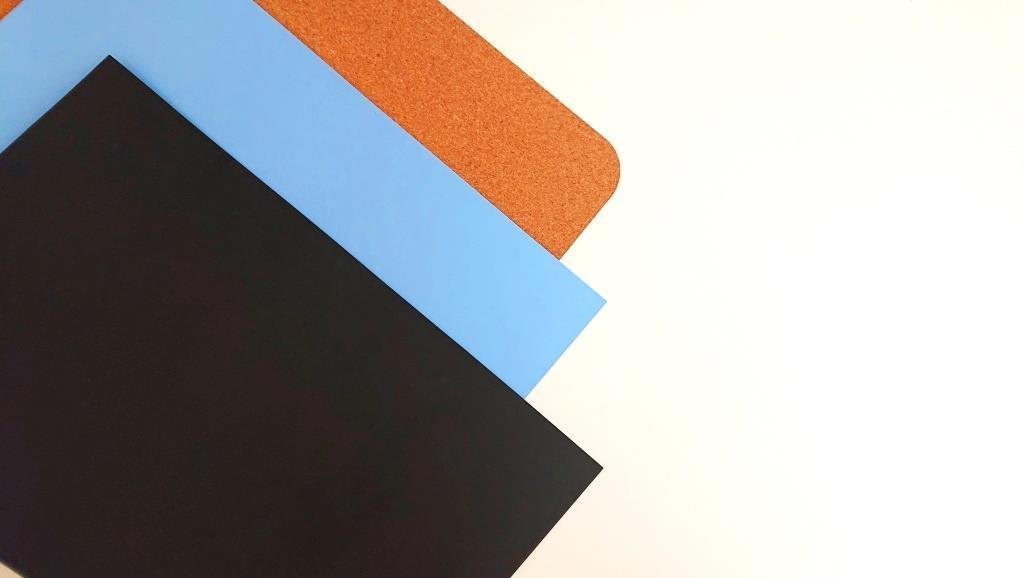
TIP 1 - THE SURFACE
Before starting, you first have to prepare the surface where you are going to do the puzzle. Whether it is a table, a cardboard or a wooden board. It is especially important that it has a flat background, by this I mean that it has a single color - without pictures, flowers or drawings that distract us.
It is also recommended that if the puzzle is light, use a dark background and vice versa, if the puzzle is dark ... that the background is light. For this you can use cardboard, foamy, a tablecloth, and everything you can think of.
TIP 2 - TURN ALL THE PIECES
When opening the bag, the next step is to spread the pieces out well and turn them all over. Thus, we can see all the colors and striking pieces. By turning it over we also make sure that there are no pieces left over others and that we can see them all.
We can take advantage of this moment to sort the edge pieces.
You can also choose if you do it on your table and if you do not have enough space you can do it on cardboard, trays or boards.
TIP 3 - THE EDGES
We continue with the edges, mounting this helps you see the size of the puzzle and locate spatially. We recommend making a long row with all the pieces with the edge side up or down. So, place them all in one direction and it is easier to make the pairs until you form the four rows of the edges and you notice which side they are and you put them together.
There are puzzles whose edges are very similar (because they are of the same color or the shape of the pieces), if this happens to you and you get stuck ... it is better to leave them aside and save them for last.
There are people who recommend not starting with the edges, and we even do it many times. Why? This depends on the type of image you are doing and on the brand of the puzzle. But this also depends on the experience you have, your spatial location and how many times you have done it. But this is an advanced tip, which we will cover in another article.
TIP 4 - SORTING THE PIECES
The pieces are all turned upwards, now you have to look at them and define how you are going to sort them. This depends on what type of image you have and how you want to do the puzzle. Initially it is best to choose a very striking thing or area and do it and then continue with another, as if it were mini-puzzles.
For example, if you have a landscape with sky and a city or sea ... you can start with the skyline, and thus you divide the puzzle into two areas. Another example, you have several brightly colored objects or areas of the drawing that you identify, choose the largest, you separate the pieces and assemble it and then continue with another area. When you are starting it is easier to do one thing at a time.
Think that if you have a puzzle of 500 or 1000 pieces and you make the edge, you already subtract a few pieces from this total. Then you divide the puzzle or make a large object out of it ... You subtract many more. And so on. Every time you do a part, you are one step closer to finishing it.
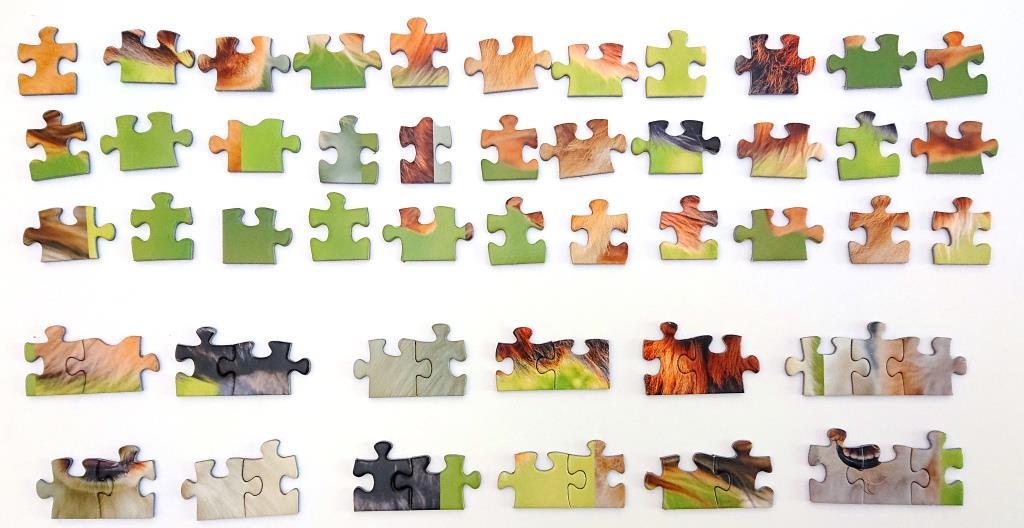
TIP 5 - SORT BY SHAPES
When you finish with all the parts or areas that you can identify, there are usually very similar pieces left, because they are all of the same color or similar pattern. Here the most useful thing is to organize the pieces by shapes. Depending on each brand there is more or less variety of these.
If you look, there are usually some longer and thinner pieces - the "vertical" - and others shorter and chubby - the "horizontal" ones. Look within the areas that you already have made in your puzzle as they are located, in which sense they are. So when you separate these pieces you can put them in the same direction and this will make it easier and save time.
Once you have all the pieces separated by shapes, you should look to see if there are any with “rare shapes”, for example, those with a kind of “belly” (a curved edge). If your puzzle has them, look in what you have assembled if there are pieces of this type and find the pair in which you have separated as "rare". It is better to start with this type of pieces since they are the smallest proportion of them, and it will be easier to locate them.
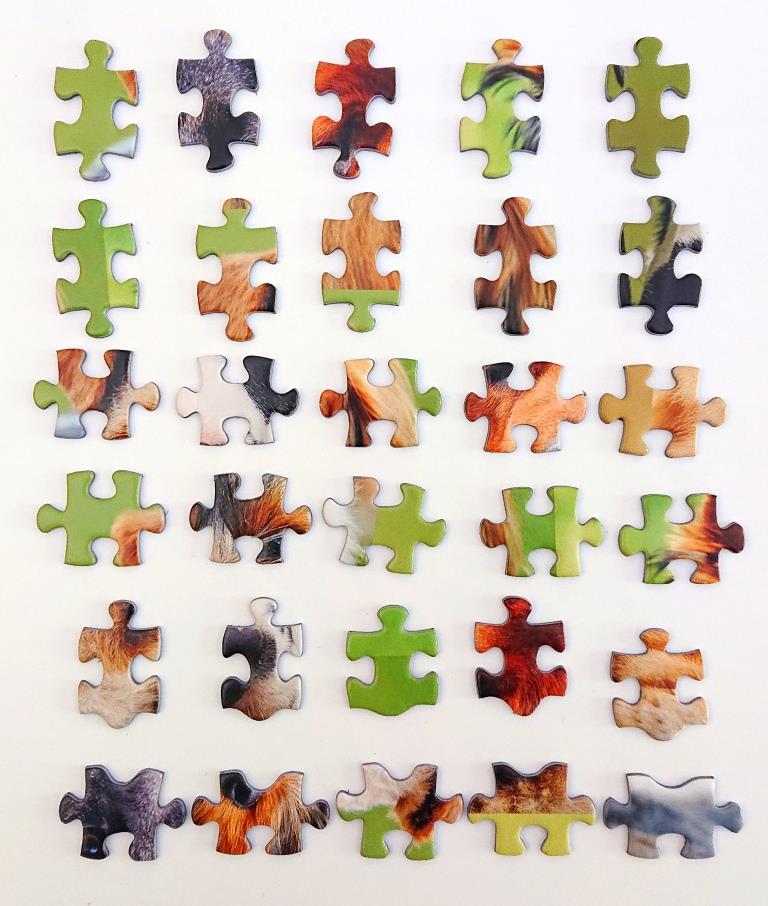
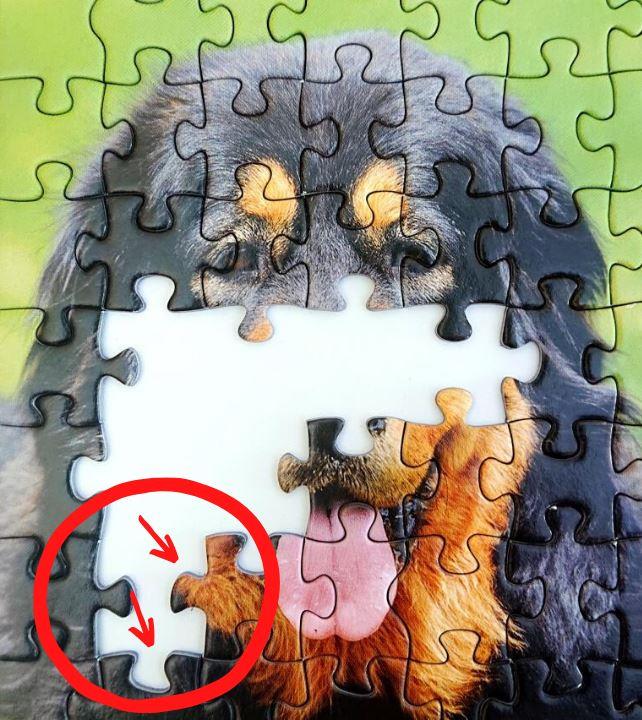
Then you have to look at the puzzle and find corners (see the image) in the pieces left to finish. Why corners? Because they give us two or more edges of the piece we are looking for. The first thing you notice is whether a vertical or horizontal would go in that place and if the edges you have would allow one of these pieces to go there. Then you look at the shapes of the inlets and outlets that you have because they will also have to be those of the desired piece. With this you avoid trying all the pieces and focus only on those that are more likely to fit.
EXTRA TIP - LIGHTING
The best light for doing puzzles is the daylight, if you can place your table near a window it would be ideal. But if it is not possible, or you like to do puzzles at night there are a couple of things to keep in mind. Having good light will prevent you from getting tired quickly and will allow you to see better the details and the tones of the colors. We use two lamps with powerful white LEDs and we see very well, but it is important not to focus them directly on the puzzle so that the light doesn't reflect on the pieces, it is very annoying when this happens. Instead we focus them on the wall so that the light is reflected to the puzzle or also pointing towards the ceiling.
These are the tips that we consider will be most useful for people who are starting to do puzzles, while finding their own system to assemble them. It is not necessary to follow them in strict order and each one can adapt it to their way of doing puzzles, since we all do them differently. In the future, we will share advanced tips to make your puzzles. We hope these tips are useful to you.
What other tips do you use?


4 Comments on “5 Tips for doing your first puzzles”
Hi! This is a great read and is relevant to my own Bucket List.
Ana
https://puzzlesaustralia.com.au/
My tip/method is after you sort out colors or identifying features, choose pieces with significant or easily identifiable images and place them around the board by using the picture poster (assuming your puzzle came with one.)
-be patient
-stop if you get stuck or can’t find any more matches and return in a couple of hours or the next day
-great music helps
-if a beginner start small, 100 then 250 then 500 then 750, when making the jumps choose a very simple image. After several months of following that you should be ready for the 1,000 piece puzzles
-join puzzle groups on Facebook for tips, support, questions, etc
Hey Lily! Those are great tips!!! You are so right, simple and colorful images can be a great help, also starting with smaller puzzles and moving on, one step at a time!